This forum needs more build threads! ;-)
Alright, where was I? Oh right, Saturday night I went to bed with the oil system primed. I slept in a bit on Sunday, then headed down to the shop to fire things up. I had to button up the top half of the motor, and deal with a few little issues, but soon the time came to turn the key for the first time. I held by breath, pumped the accelerator twice and promptly ground the starter gear into the flywheel.
Crap.
I am fully aware of the issue that the starter only engages about 1/3 of the flywheel teeth width, but other porsche-box swappers seemed to have neglected to report the fact that this means you'll likely be grinding the starter on a number of attempts to start. Okay, mental note...pull starter so that material can be milled off the face. I turned the key a few more times before it finally launched itself into mesh, and the motor fired right up!
There is that moment of elation, where you realize it's finally happening, you're close to driving, you blip the throttle twice (always twice...why is that?), walk to the back of the car and see a nice puddle of synthetic forming on the floor…
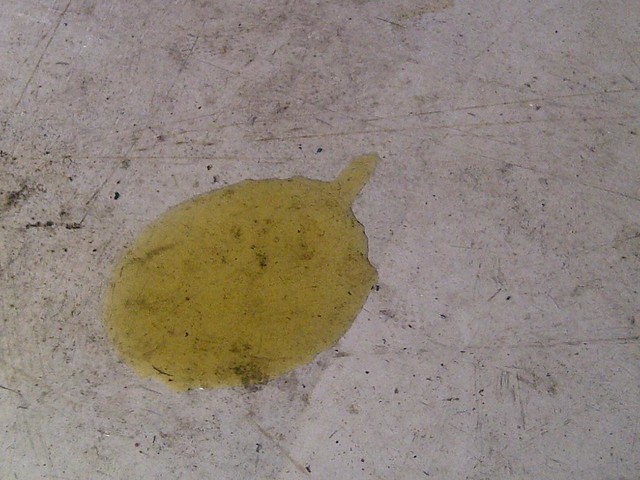
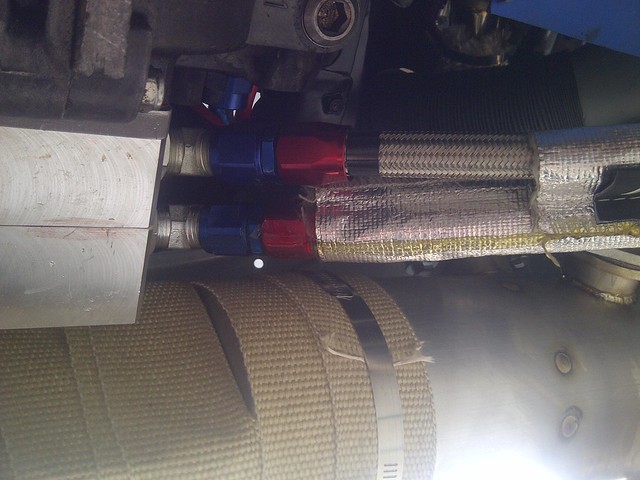
Turns out I forgot to tighten one of the oil lines which is close to the exhaust, almost impossible to get a wrench into...but after a few choice words I managed to get it tightened up.
I fired the car back up again, with the intention of letting it warm up enough to start bringing the oil up to temperature, and shoot a video of the car actually running. I couldn't quite place it, but the engine "sounds funny". It's got a strange hollow sound to it, and there was definitely more noise to the engine then I think there should be. Problem is the bottom end hasn't been touched, so it should be fine...unless I managed to flatten the cam while priming the oil system? Either way, I had to leave the car as is and run some company errands for Classic Car Adventures. On the way to Vancouver I called Mark Huebbe in Missouri and talked with him about his dry-sump engine, which is the closest in setup to mine as I can find. No strange noises from his, and certainly no 'hollow" sound. He's run his dry of oil a few times, and the bearings (checked months later) always look perfectly fine...so he did calm me down a little!
When I returned to the car, I figured I would ignore the engine momentarily and instead work towards getting the rest of it ready. I was planning on an alignment Tuesday, so started working on the rear suspension. Through a series of strings, measurements, 3D modelling and lots of scribbles on cardboard I thought I was getting a good grasp of the rear suspension alignment. Math was never my strong point in school, so sorting this out was one of the more challenging aspects of my build! By Sunday bed time I figured I had the rear end either somewhat close...or so far off it was to be laughable.
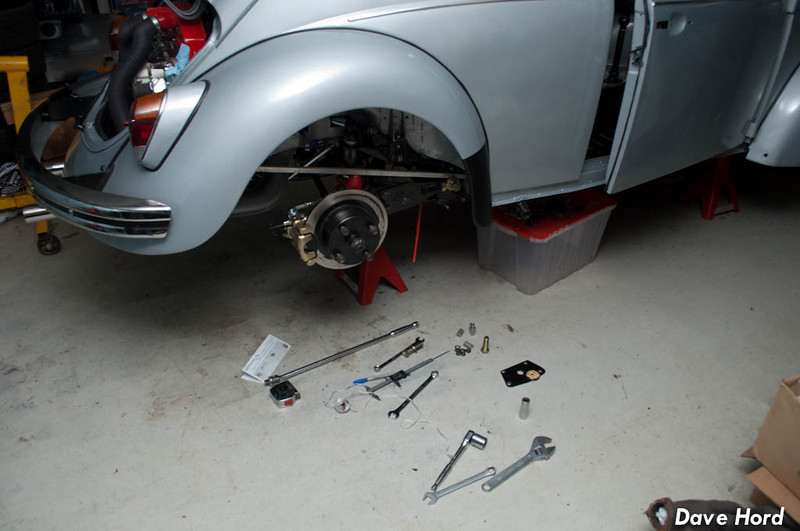
Monday started with a 4am run across the border to grab some parts I had shipped to Blake, back in time for work. Warwick had also returned home on Monday, so while he was gearing up for working on the Mini I figured it was a good time to get a second ear listening to the engine. From the very beginning I figured it was my mind playing tricks on me, and that fear of destroying something while priming it. I honestly think I get this every time I setup a new build! I fired it up, grinding the starter a few times in the process, and Warwick confirmed that it "doesn't sound bad at all. A little 'clackety', but not 'gonna blow up tomorrow' bad". Hmmm, clackety is probably the valve adjustment. Duck an ear into the fender and sure enough 1/2 is sounding quite loud. I did a quick valve adjustment, even though things were a little warm at this point, and as soon as I did all sounded normal. Ah yes, 24 hours of torture because I can't remember what a Volkswagen should sound like!
The odd part is that I was sure I checked the valves on #1 while it was on the stand. If I _did_, then I most likely have an issue where the cam is going flat or similar. But I do know for a fact that I did not do a valve adjustment on all four, and even said to myself "I might as well do that when it's in the car"...so there is a very good chance they were just "in need" and there were no problems. Will have to adjust them cold, and then keep track if they are changing at all.
With that, I moved onto swapping out the springs. I picked up a set of Eibach 550’s in an 8” length, an they’re a perfect fit.

Yesterday was Alignment Day…or so I hoped. I did drive the car out of the garage and onto the trailer, which I have to be honest brought a huge smile to my face. It came off the trailer and onto the rack with no drama. OK Tire in Squamish was pretty incredible about the whole thing. I explained the issues with the rear end, and he agreed to three setup and alignments charged at the end based on the time it took the boys. We would need to measure, then take the car home to change the rear end, measure again (thus giving me a baseline of “two turns equals X degrees) and then go home for a final measurement change.
Off to the gas station for the first time!

Once I got the car on the rack it was apparent that the first thing I would need to do is fix the fuel leak

Fortunately it was a quick hose clamp, for the gas heater and NOT the one found buried under the tank!
Grant at OK Tire called me about 30min after I dropped it off to say “come and get it”. The rear end was so far out it would have to come home. -2.2deg of camber on the left side, -0.8 on the right. 0.18deg positive toe on the left, 0.30deg of negative toe on the right. Well shoot, I didn’t even realize camber was that adjustable on the rear, how would I fix that!?!
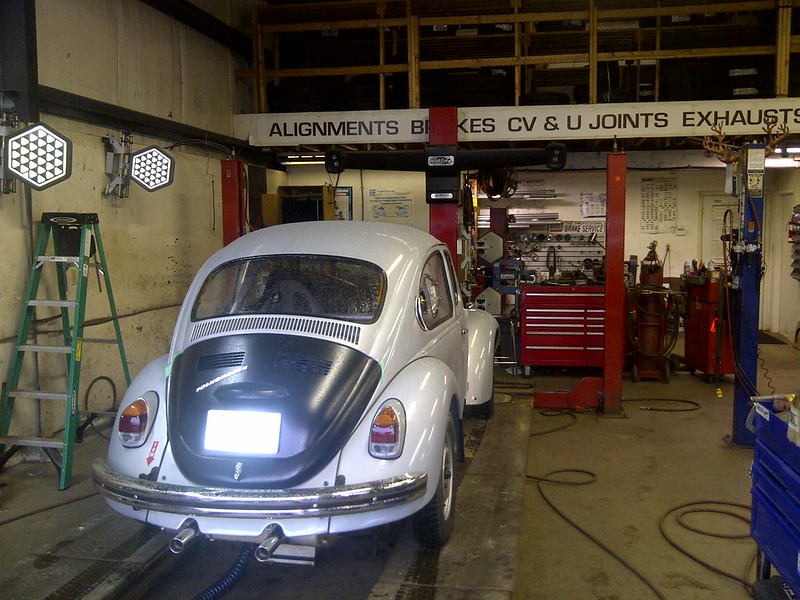
Thankfully Bruce Tweddle’s post on TheSamba was readily available on my iPad, and the camber adjustment was easy enough. I dialed in back end of the car over lunch, and brought it back at the end of the day. We tossed it up on the rack and found that I had fixed the left side, but gone way too far on the right. That’s when Grant came through with the best news ever. “I don’t have another car booked on the rack, if it won’t take too long just fix it here.”
We jacked up the rear, pulled the tires and in less then ten minutes we had adjusted and checked the suspension twice. I’ve got .06deg negative toe on both sides, and -1deg of camber on both sides. I left the guys to dial in the front, but thankfully caught them before they had finished the camber adjustment. The factory spec calls for .2 to .8
positive camber! Uh yeah, sorry guys but I’m not doing that! We dialed in a half degree negative and I’ll see how that works out.
…and that’s where it sits right now. I can’t drive it because I still need to tune the carbs, and fix the lower shock mounts on the rear. The 50ft between the trailer and my driveway were quite exciting though. My shifter setup works perfect for going from dogleg 1st to 2nd without catching reverse, but that’s about all I can report.
- The starter grinds
- The clutch feels HORRIBLE (needs additional return springs for sure)
- The throwout bearing is noisy (oh weee, another engine pull)
- …and I think I found a few other issues. But hey…
IT DRIVES!!!
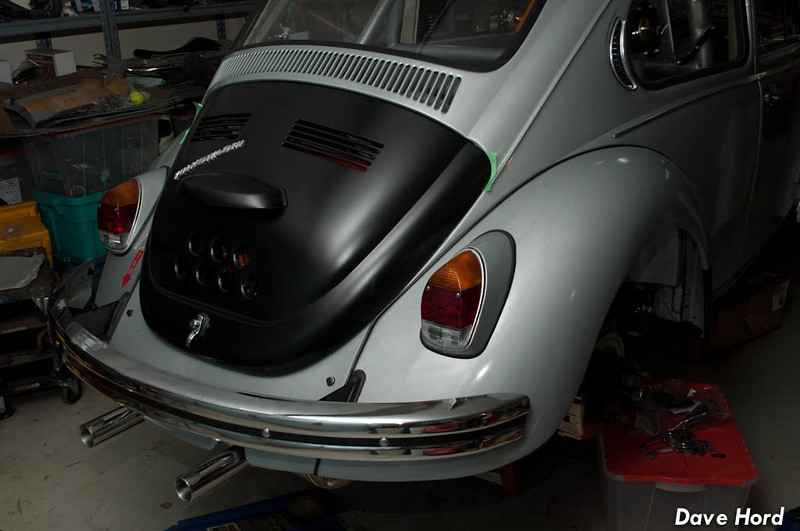
Also had to dial in a few things for weatherproofing the car (it was raining yesterday). So Monday night saw the addition of the engine deck lid, some ducting for the oil cooler, door handles and a few other odds-and-ends.
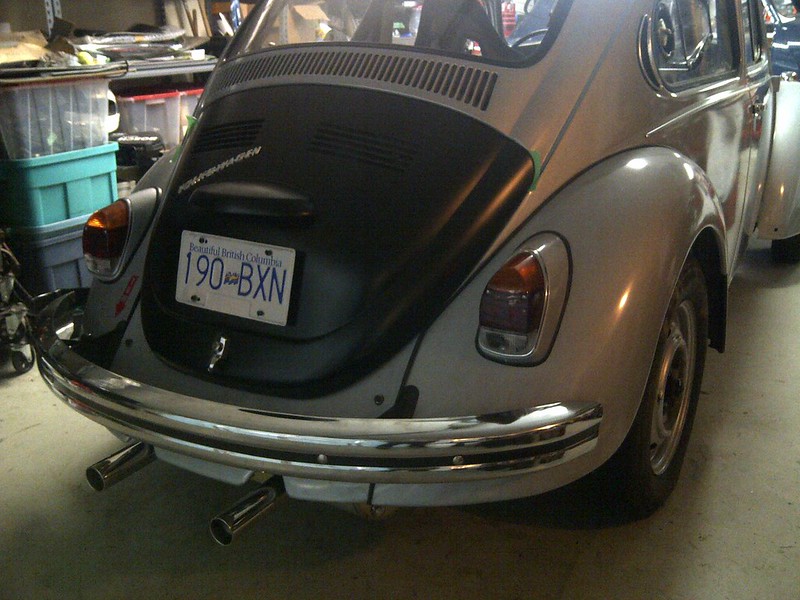
I kinda wish I could run without a license plate! Mounting the decklid did reveal an item I forgot to pre-plan for. The license plate light has no wiring, and no where to connect it! Whoops.
With the plate installed. The plate sits on ¾” spacers to allow for airflow. You can see the green tape in the corners, I can’t find a way to adjust the decklid so it doesn’t hit here. Might just use 3M stoneguard to protect the paint.
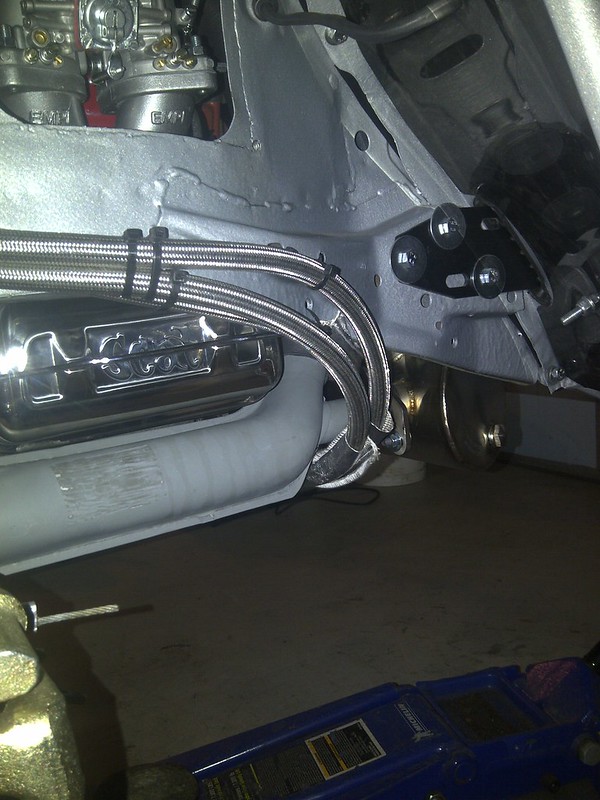
The oil lines are actually tucked up quite high, this is temporary with zipties but now I know where to put the proper clamps.
Oil cooler ducting. I have a tube of really nice proper racing duct, but unfortunately it’s just long enough for one side. It’s the high-temp silicone hose type for brake ducting, so I think I’m going to reserve it for front brake ducts should I ever decide to add them.

But really, you all came here for videos. So here’s a couple of startup/idle vids.
#1 is Monday night, you can hear the valves clattering.
http://www.youtube.com/watch?v=bH-Q6ZtgXbw
[youtube]http://www.youtube.com/watch?v=bH-Q6ZtgXbw[/youtube]
#2 is today, quick start up…needs some tuning.
http://www.youtube.com/watch?v=iLRz--T2FZo
[youtube]http://www.youtube.com/watch?v=iLRz--T2FZo[/youtube]
Eventually I have to return Geoff’s trailer to Vancouver…so I’m going to see if I can rope either he or Darren into some carb tuning ☺.
-Dave