And the rest...
Quote:
I've finally caught up on sleep from this project. I figured out that by Monday evening I had over 120 hours into it, and that doesn't include all the time Connor, Scott, Wayne, Eric, Ian and Craig put in.
So to answer the age-old car-nut question...Can you paint a car in your garage over a weekend? Yes (if it's four days).
Would you want to? No. But alas, I did it anyways.
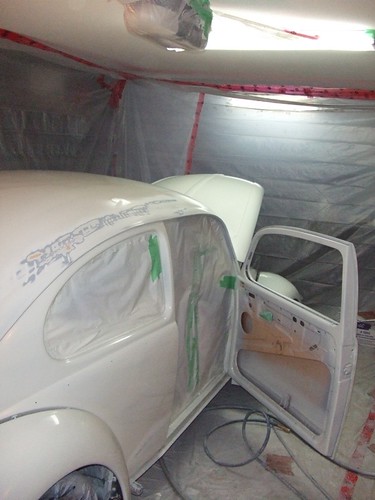
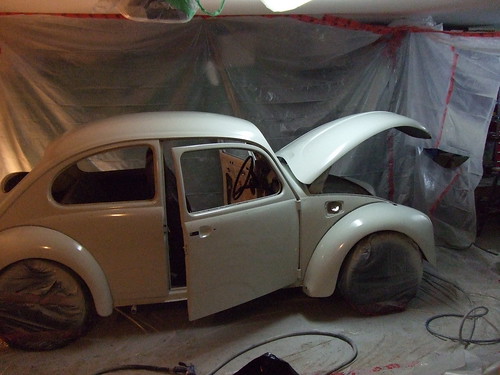
When I last posted it was Thursday night, and I had just finished stripping the car down for sanding:

Friday morning started with sanding...lots and lots of sanding. Connor and I sanded the car from Friday morning to saturday evening, while Scott went around welding up all the holes we were uncovering. The short version:
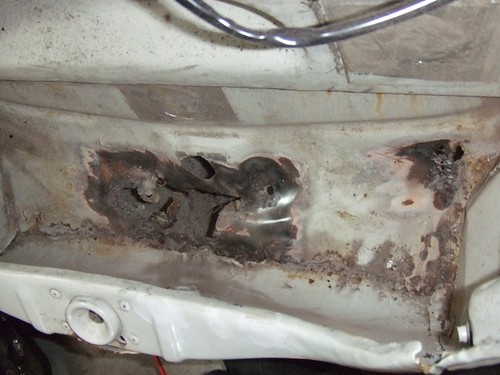

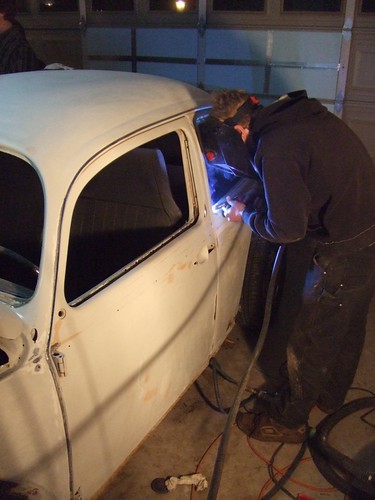
Scott welding holes near the windows...
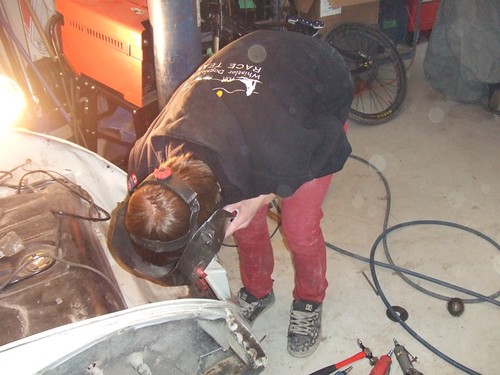
Connor trying some welding out after being totally bored sanding.
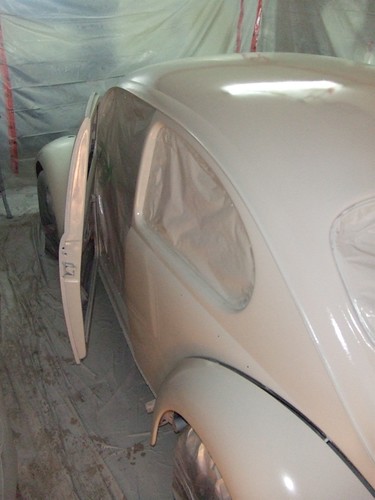
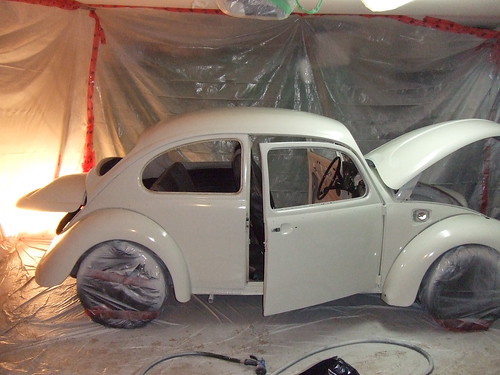
Fenders back on, almost done sanding!

Spray booth built - I essentially built a five-sided box using 3mil plastic sheeting and tuck tape. Fully covered and sealed the floor before building the walls. The walls are held up by 4x4 blocks of wood screwed into the ceiling, and then they are tuck-taped to both the ceiling and around the floor edge. The wood holds the weight, and the tape seals it off. We agreed that painting the ceiling a bit didn't matter, but the floor and the rest of the garage needs to be over-spray free. There's a couple of home furnace filters cut into the walls near the floor which had fans sucking air to the outside. Apparently that was a huge no-no, as sparks off the brushes in the fan motors can ignite the paint fumes. Better to blow INTO the booth through filters and offer a filtered exit. The air hose and water hose were cut into the booth and sealed. Entry and exit to the booth was via a slit in the wall -> simply tape it off after you slide through.
I have no photos of the priming stage, and actually little of the spraying. By the time we had hit Saturday night and I was priming it...the train was in full-blast-finish mode. Priming went just fine, I had good coverage on all panels with little or no orange peel. I did, however, manage to create four big runs though. Runs come from laying it on too thick too fast, and are a real pain. You can paint a panel, and it looks PERFECT...walk away and come back 30sec later, still perfect. Another 30sec and the damned thing is slumping towards the floor.
Wayne, Eric and I woke up saturday morning and sanded out the runs in about 45min. It wasn't too difficult, and I figured the mistakes had happened...so the car was cleaned off with reducer, run over with a tack cloth and I got to mixing paint.
The good news is I had figured out how to paint the fenders. During my priming passes, it was the fenders that caused me the most problems. Trying to to spray around the curves evenly caused me the run issues. When it came to paint, though, the fenders were working out perfectly.
And then I hit the roof...in more ways then one.
In the photo above you can see the roof run we had to sand out, just how massive it really was. I ran the roof on both sides, both doors, the rear decklid and a bit on the front apron.
At this point I had pretty much reached my limit. All that sanding to completely blow it. Wayne and Eric, though, saved my butt. They calmly mentioned that we'd sand it out, and have a go again on sunday morning.
Monday started for me at 7:30am, and hours of sanding. Wayne and Eric quickly showed up and sanded out the massive runs I had made. There was chat over who was going to spray the second and third coats...but eventually I lost out. It was my car, I'd be holding the gun again. While they joined Scott on the pump track near my house, I mixed the paint and held my breath...

This photo is why you use a professional paint booth, and not one built in your garage. A week later and my eyelashes are still white. Think about that.

The second and third coats, I'm proud to say, went on without any runs. They most certainly have bad orange peel, but for that is to be expected. When you spray, the first bit should be almost a light misting...you wait till it gets tacky and then ideally lay on a fairly heavy coat, almost to the point of running. Alas, you need to have some good experience to hit the 'almost running stage' without going over. If you don't get it right, and go too light or two far away, you're going to get orange peel...that rough paint surface. If you lay on enough paint, though, you can sand out your orange peel later.
10:30pm Monday night. The booth comes down, the paint is finished. I'm technically a day behind on my planned schedule...but at least I only have to worry about reassembly at this point!
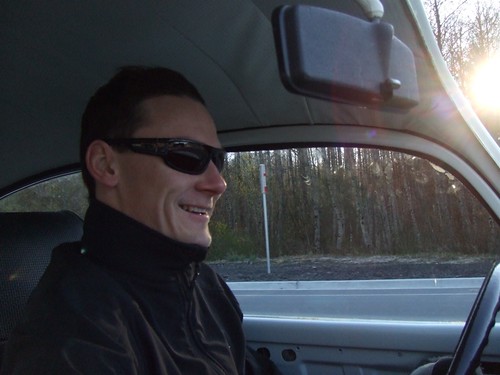
Wednesday morning, driving to the windshield shop for my new glass. Apparently it's completely legal to do this, as long as you're wearing eye protection. At 5deg C, however, I don't recommend it!
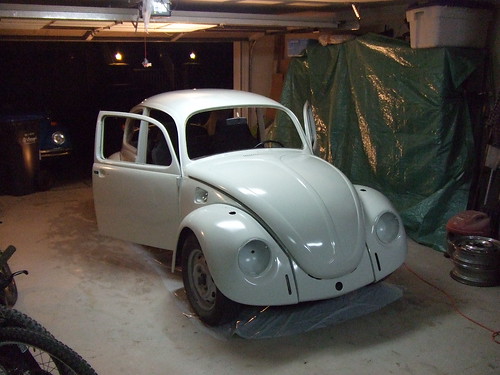
And finally...finished. It's missing a bit of trim, and a horn, but the clips are in the mail.

Finish wise, it's a 5/5 to 20/20 depending on the light and who you ask (20 feet, or passing at 20mph). Quite frankly, for a garage paint job rushed over four days...I can't complain! And the rot we found in the car that was unknown previous would have caused serious issues by the end of the summer. So all in all, I'm happy to have done it. More happy that it's over though!
-Dave
|
__________________
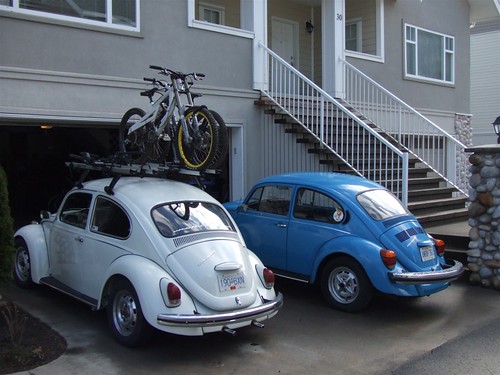
'71 Type 1 - Rally Project
'58 Type 1 - I bought an early!?!
'73 Type 1 - Proper Germanlook project
'68 Type 1 - Interm German 'look' project
'75 Type 1 - Family Heirloom
'93 Chevy 3500 pickup - Cummins Swap
|