The day started off early, loading the bug onto the trailer with my friend Gord. Gord is shop foreman at Rocket Rally, and a wizard when it comes to fabricating. Long ago I roped Gord into 'helping' me do the lower shock mounts...which is to say he works, and I watch :P
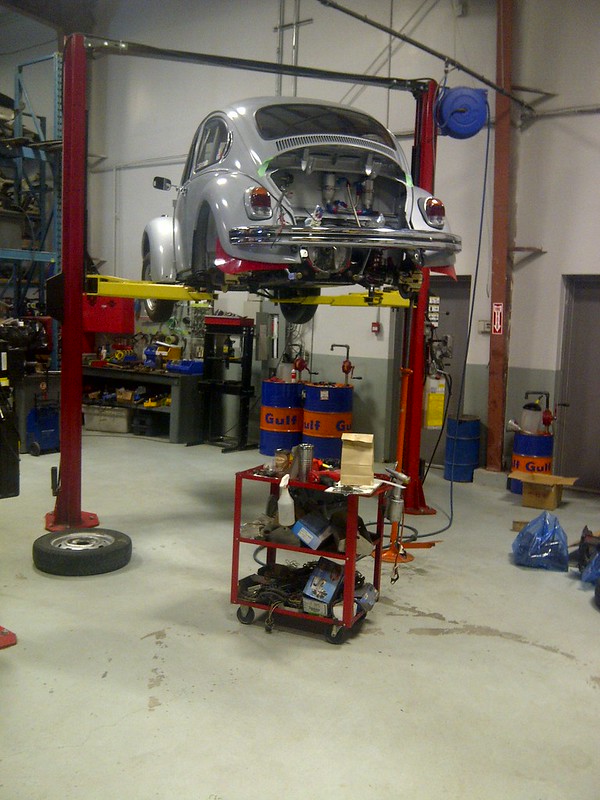
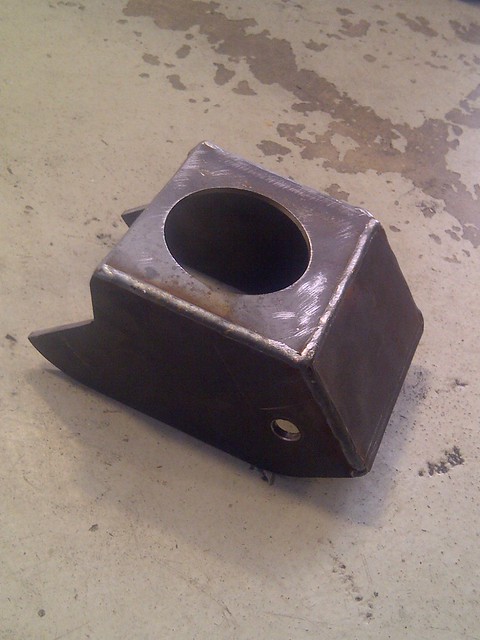
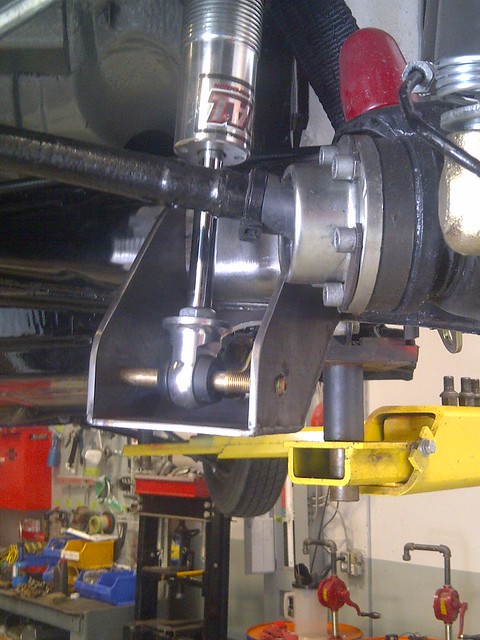
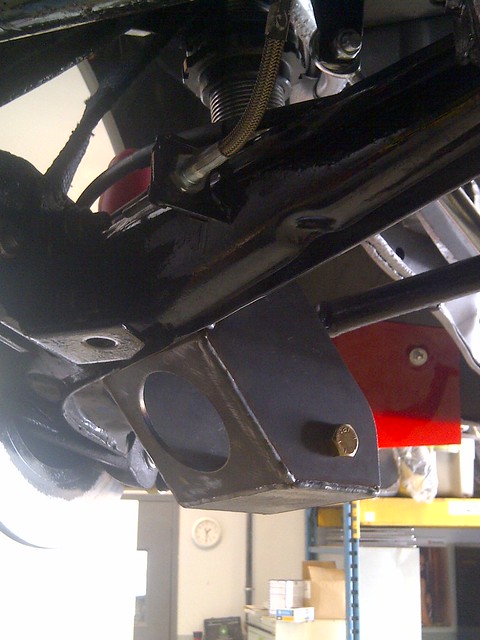
After discussing the options and taking into account the things I thought were important, Gord went to work on cutting off the lower shock mounts and starting fresh. While he was working on suspension, I took advantage of the rally shop's automated parts washer, and prepped all the engine bits for reassembly. A couple of hours later and I had clean engine bits...and a bug with an finished rear suspension setup. We even managed to sort out the limit straps as well. I'll need to lathe up some spacers to go on either side of the rear shock, but that will be a super quick job I can leave for another time. Gord did have another design done up which wasn't a complete box, the lower section was closer in, and then they opened up on an angle. Definitely looked better, but swapping springs was similar to the stock mounts which required much manipulation of the suspension arm, shock and some swearing. With these mounts the springs are super quick and easy to change....so I went with the more useable design. I'll get photos with the springs installed soon.
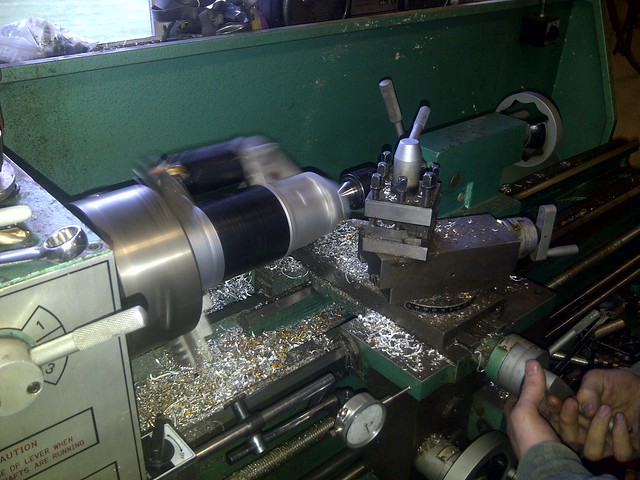
One of the lathe jobs I wasn't going to tackle on my own, was the starter. Swinging one of these around in a lathe is not for the faint at heart! We took a total of .125" off the mounting face of the starter. It could be a bit thin, but then it's a $40 starter from Autozone. If the ear snaps off I'll know to to do just .100" next time :P
The plan for the evening was to assemble the engine. Rob
actually opened AVR on a holiday to get me the bits I needed to reassemble the engine. Amazing. I think I was laying the crank in the case when I realized that this job takes a whole lot longer then I remember with all the measuring and checking! I readjusted my plan to become "assemble the long block" before bed. Had an issue with the cam thrust bearing, but that was just a matter of polishing down the thrust portion on some glass. After mating the case halves I discovered two of the main studs needed some cleaning up on the threads. This was done very carefully with the engine all protected in plastic and paper towel. After spending the time doing that, I was highly considering just getting the short block done! I snugged the cam-plug bolts down okay, and grabbed the torque wrench. I now know
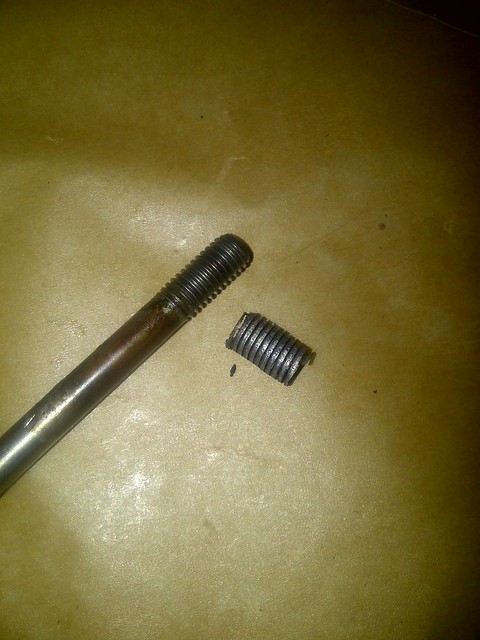
why the cam plug leaked on this engine for the past year. I didn't make it 14ft-lbs before the stud stripped out of the right-side case half.
Un.
Freaking.
Believable.
The engine is now disassembled once again, and tomorrow I'll have to get a helicoil kit and set a coil into the case half. Then, after cleaning out all the swarf and crap, I can return to the job I was doing earlier this evening! Here is the stud, and next do it are the nice threads that should still be a part of the case!
-Dave