Sweet! Good to hear. Will order up some factory mounts and swap them.
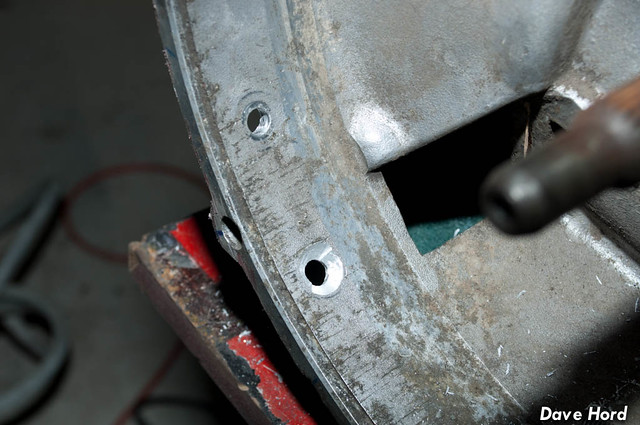
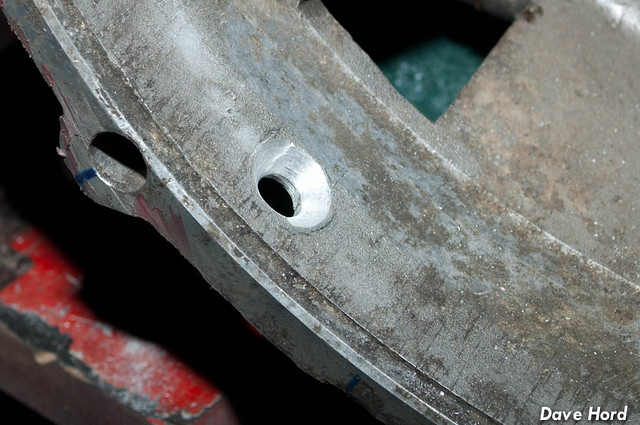
So the last step on the transmission was to determine how I was going to hold the bellhousing mounts in. Initially I wanted to avoid the countersunk screws, but after considering a few options determined that they really are the way to go. Only problem? My countersink bit was broken on the last job. Small town Squamish doesn't have a whole lot available at ten to six on a saturday...but Home Depot did have these...
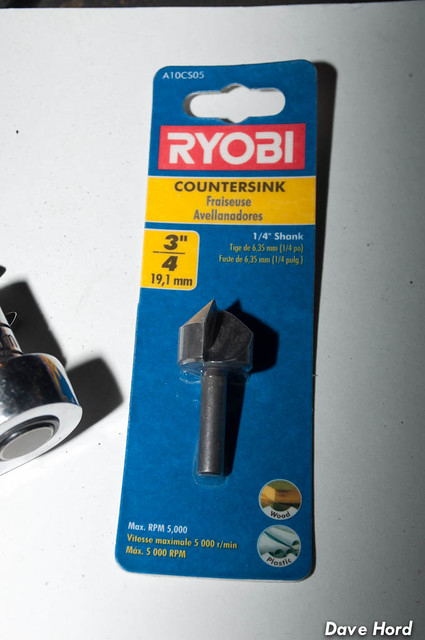
...yes, that does say wood and plastic. Aluminum is soft, right? :P
A bit ugly on the first go, but after cleaning up with a stone they worked fine.
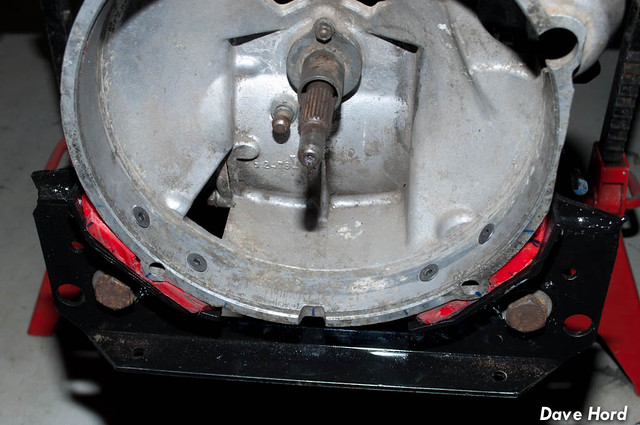
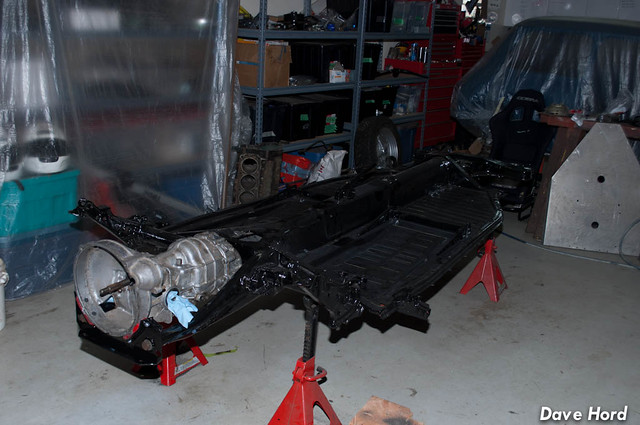
And with that, the pan is right side up and ready for me to move on. From here on out most of this post is for archive purposes...should someone be searching for help on their own 901 install.

One of the things I was finding tough to plan was how I was going to do the shift rod. This isn't a well documented part of the swap, I suspect because everyone's transmission is going to end up in slightly different location fore-aft. The transmission I bought came with a modified 911 shift rod which was in a notchback (supposedly), but the bends were way off for a beetle pan. I also really wanted to use the Beetle shift rod as I'd have better (and more affordable) shifter options. So with that in mind I started off on the shifter. I knew I needed to remove the bushing mount temporarily for setup, which means grinding off the pan finish. If I have to grind a bit, might as well grind some more...so I cut a big access hole to make life easier.
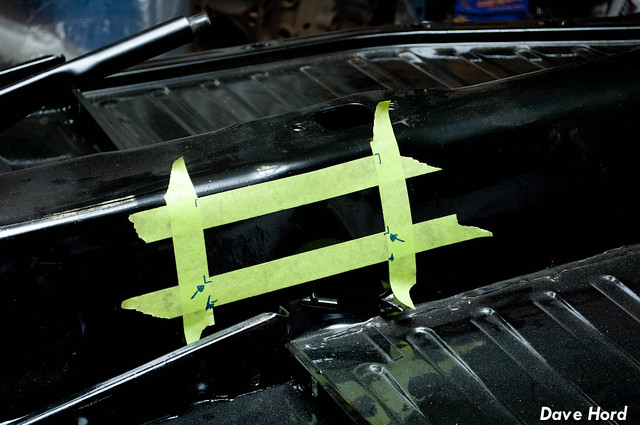
There are six spot welds holding in the bushing bracket / shifter mount

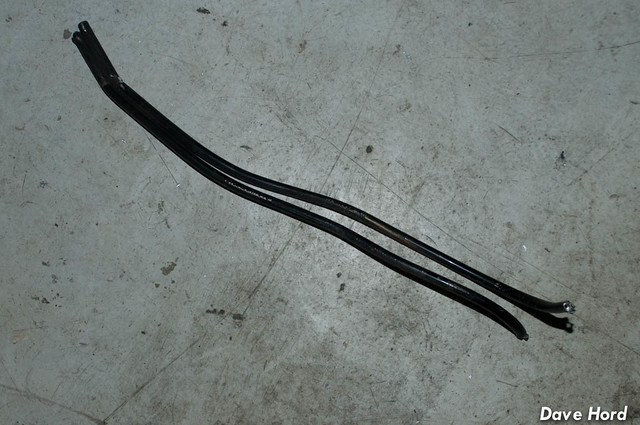
From there I propped the beetle shift rod up in place, and then measured how much "drop" I would need at the back of the shift rod. To bend the rod I used a propane torch to heat it until it was red hot, and bent it over a section of exhaust tubing. The shift rod will still crimp, as you can see in the photo, but I just welded tabs over top when I was done. If I had a second factory shift rod, I actually would have started again, putting the bends closer to the middle of the rod. with the bend as far back as I have them the rod was hitting the heater flap cable tubes.
With the bends correct, I moved onto the length. You'll need to decide if you're going with the Porsche shift coupling, or the beetle shift coupling. I actually think the Porsche one is a better unit, but with my transmission pushed as far forward as I have it, I'd need to cut out the VIN to be able to put the one I have in. Thus, I went beetle. A quick weld on the end, and I was done...ish. I could get 2/3rd no problem, and while I could get into 4/5 it was binding against something. Turns out it was the tubes for the heater flaps under the rear seat. Well, I'm not planning on using those...so out came the tubes, which in itself was a royal pain the ***.
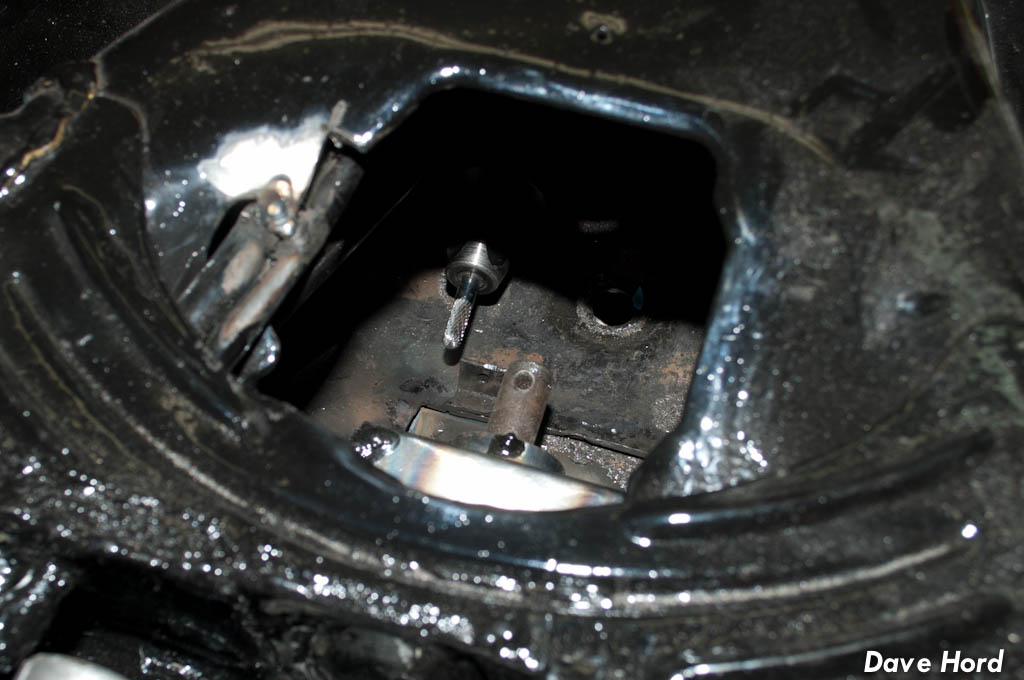
following the tube removal, I still couldn't get 1st or reverse. Something was hitting the shifter...and when I finally found it, well lets just say incredible. How did I by chance just happen to leave this little tab? My cut and sheet metal work went through half the welds holding it in. Ever try and use a die grinder inside a tunnel? Not fun!
Thankfully I can now hit all the gears...though it did seem to require a bit too much muscle for my taste, using the stock beetle shifter. Tomorrow I'll work out what else is binding in my setup.
...porsche trans, not a 'quick' project!
-Dave