
|
|
#8
 December 20th 2007, 22:19
|
||||
|
||||
|
Slide 60- Type I IRS Chassis Prep
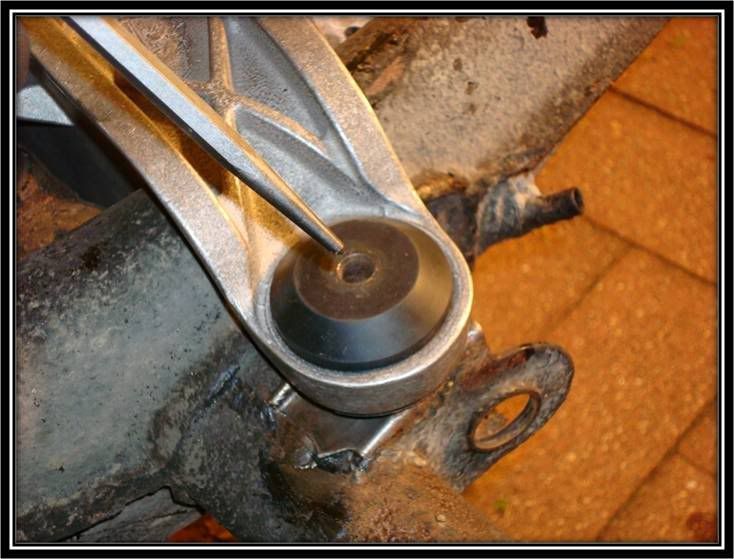 A center punch and hammer are utilized to mark the location for drilling. Starting with a smaller (approximately 6mm or ¼ bit) make the necessary pilot hole Note: Remember to use cutting oil, and eye protection Slide 61- Type I IRS Chassis Prep 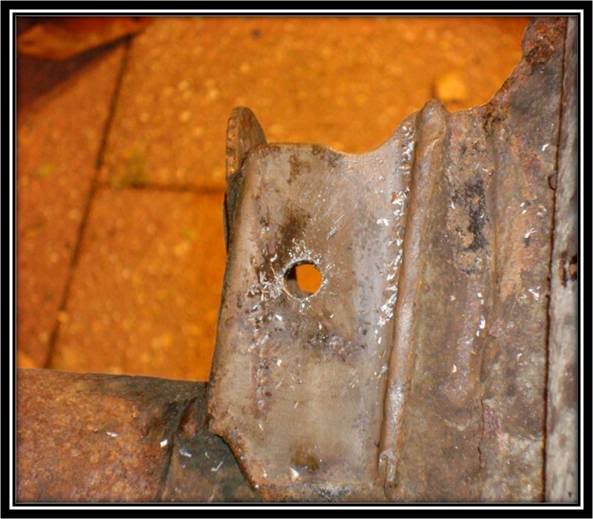 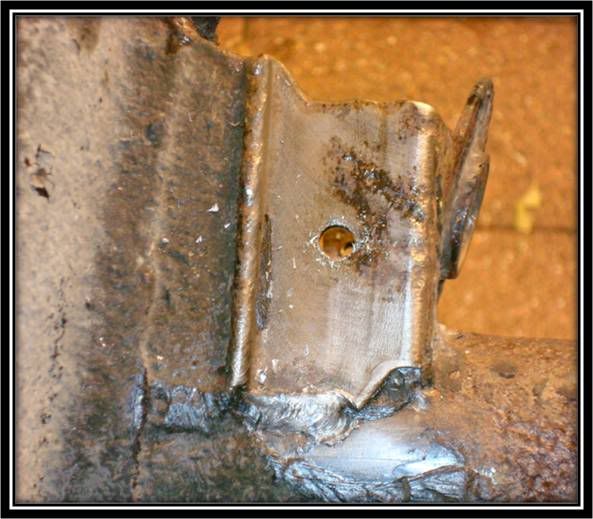 Final hole will be made with a M12.5 or M13 Drill bit. The Front traverse will be attached to the IRS mounts using a M12 Bolt (19mm), two washers, and the supplied metal wedges. Slide 62- Type I IRS Chassis Prep 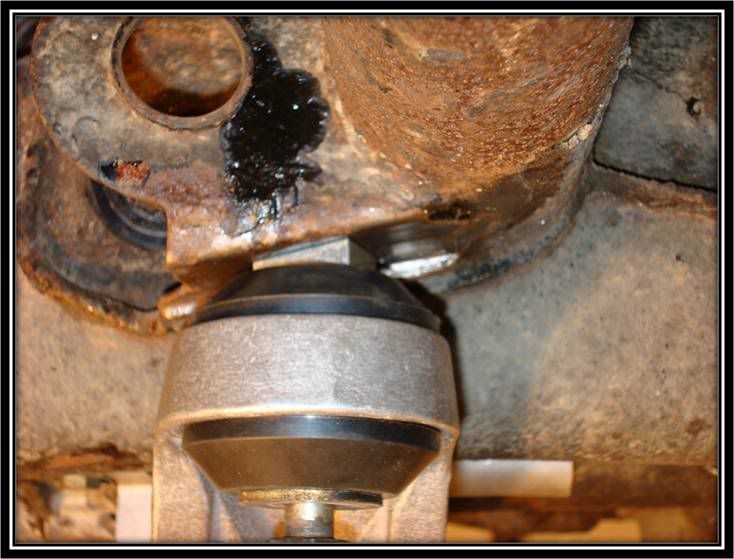 The wedges are provided to create a level surface for the mount to go onto. 4 wedges are included in the kit. Slide 63- Type I IRS Chassis Prep 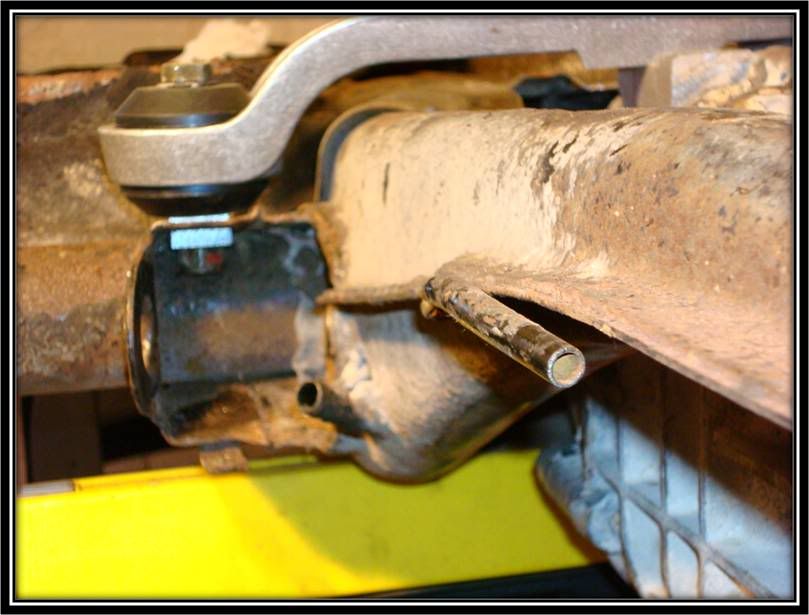 You will notice the location of the second wedge on the back side of the IRS mount. Using M12 hardware, secure the bolt with a lock not and some thread lock Slide 64- Type I IRS Chassis Prep  Picture of what the under side of the chassis should look like. With gearbox partially secured and all the trimming, cutting repositioning and clearance now complete, it is a perfect time to check everything once more. Slide 65 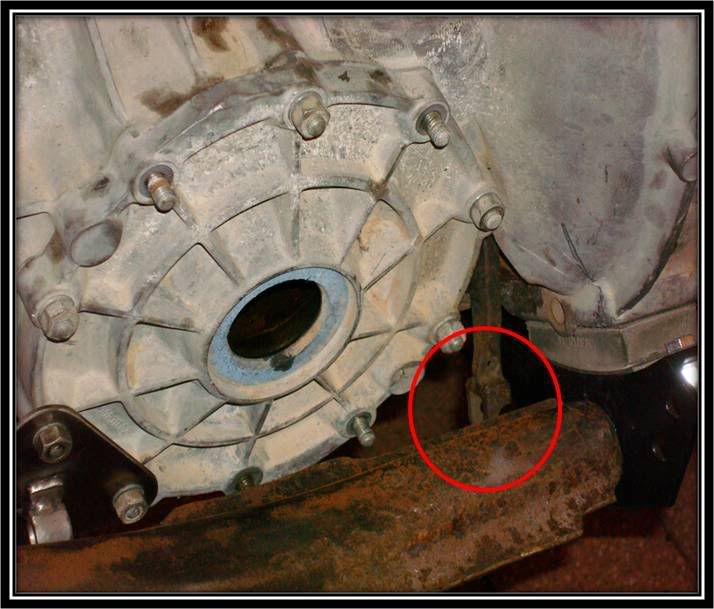 The Knurled Extension bit is utilized due to the stock cable being to short. Make sure you attach the extension with some grease to ensure smooth operation and adjustment
__________________
Alex Olaverri Sales Associate for Bug@5-Speed (US) Email: Bugat5speed@yahoo.com Tele: 973 204-5463 
|
| Currently Active Users Viewing This Thread: 3 (0 members and 3 guests) | |
|
|


 Threaded Mode