
|
|
#1
 April 20th 2010, 03:22
|
||||
|
||||
|
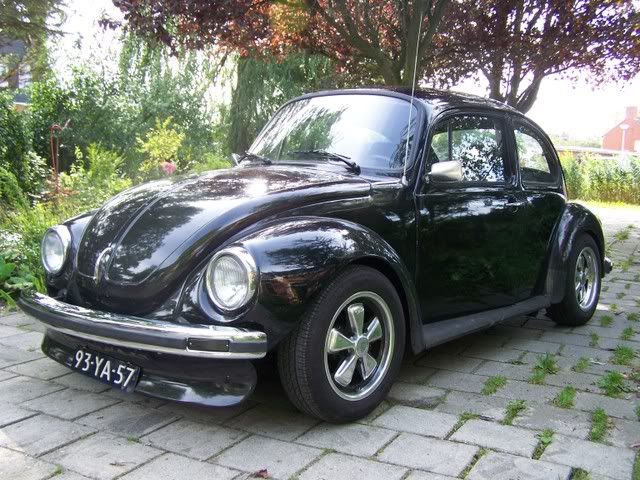
Blizzard's rolling rebuild of a 1303 1975
Hello, GL fan's. I'm Erik aka Blizzard from the Netherlands. I got this nickname because of my white aircooled rides.
 Like this '79 vert of mine. Like this '79 vert of mine. 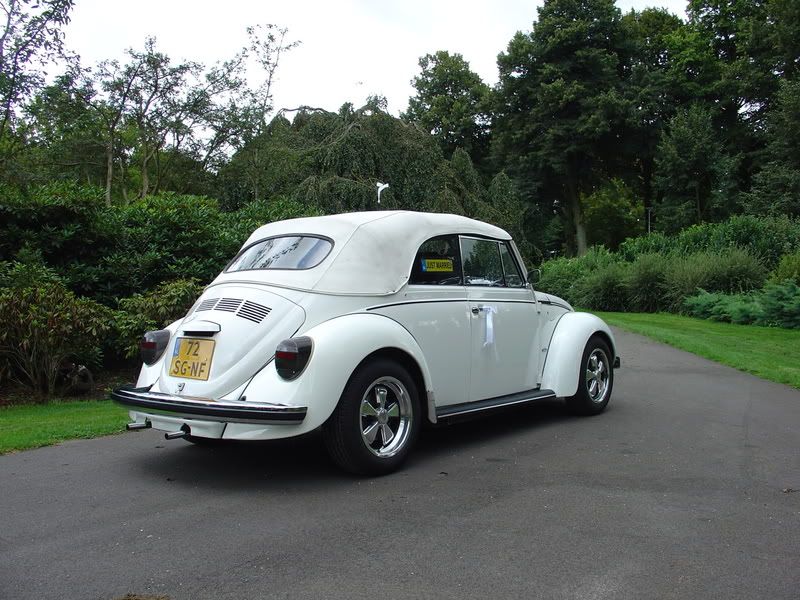 This car is also a project car at the moment.  The chassis is completely done and waiting for the body.   The body is almost ready to be painted.  However, the 1303 in this topic is Black.  I've learned alot about upgrading a bug on this forum. Now it's time to start my own topic here on the GL forum. I already have a topic on a dutch site but there I won't find the right feedback and knowhow Everybody gets here. In april 2008 I bought the ultimate basis for a GL beetle. A '75 1303.  It was in a bad shape. The front off the chassis was rotten as can be without the wheels falling of. So I replaced the complete front of the chassis. This is not a perfect resto job but a quick fix so I could use this ride as my clubmeeting and test car for brakeconversions and so on.     After that was done the only place that needed some more welding was under the backseat.    That took a few months. The complete car looked like this at the first meeting. 
Last edited by Blizzard; April 20th 2010 at 14:50. 
|
|
#2
April 20th 2010, 03:34
|
||||
|
||||
|
The welding done sofar was done to get the 1303 streetlegal. The next job was to fix the rear bumpersupports.
  I used a NOS rear valance and made it removeable.  
Last edited by Blizzard; April 20th 2010 at 09:54.
|
|
#4
April 20th 2010, 03:47
|
||||
|
||||
|
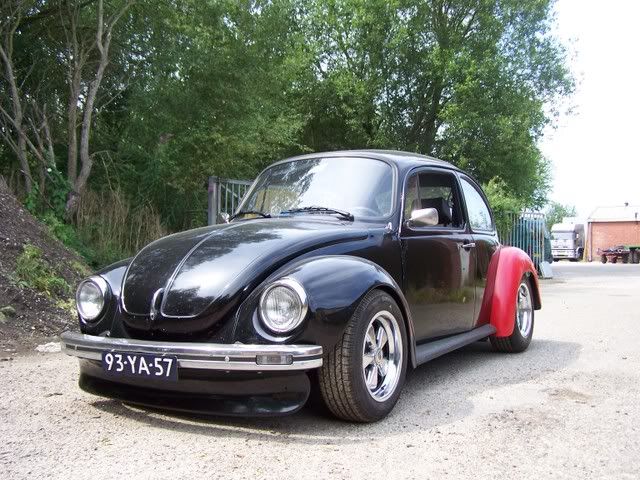
Before I got the new 6 cm. rear wings painted black I wanted to go to the next meeting so I replaced the 8J and 7J x 15 Fuchs wheels for 6J and 7 J x 15 so the rear wheels could fit under the original rear wings.
 In good company on the dragstip in Brunstem Belgium 2008.      On Ebay I found some used Kerscher wings already in the right color so I bought those for 140 euro's.   Now I could fit the wider wheels right away. The wings needed to be replaced anyway.  
Last edited by Blizzard; April 20th 2010 at 09:57.
|
|
#5
April 20th 2010, 04:13
|
||||
|
||||
|
With the (new) used flared wings it looked like this with the 15" fuchs wheels.
 I did not like the look of the 15" fuchs under the flared fenders so I swaped an other set of 4 fully polished 8J x 15 fuchs wheels that I had for a set of 16" Fuchs that I polished and painted myself.  The edge of the wings needed some trimming to fit the wheels without rubbing. Last edited by Blizzard; April 20th 2010 at 10:00.
|
|
#6
April 20th 2010, 04:35
|
||||
|
||||
|
The next thing I did was detail the interior. New carpet and a pair of OMP seats and a 5 point harness.
 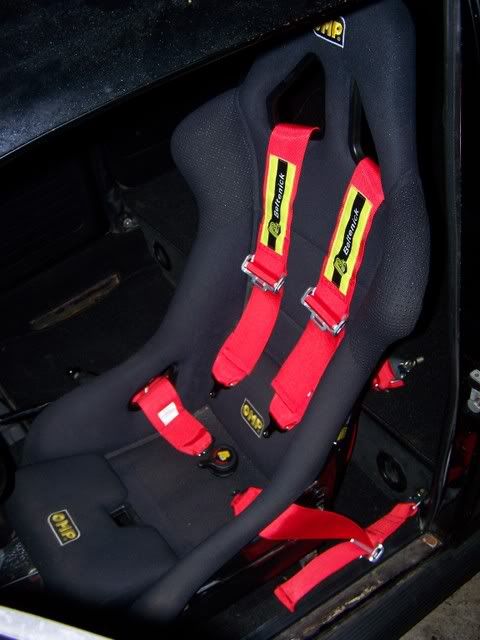 These seats are only for trackdays. For normal use I installed a pair of black cloth Recaro seats.  The standard steeringwheel was replaced with this Raid one mounted on a quick release steeringhub. 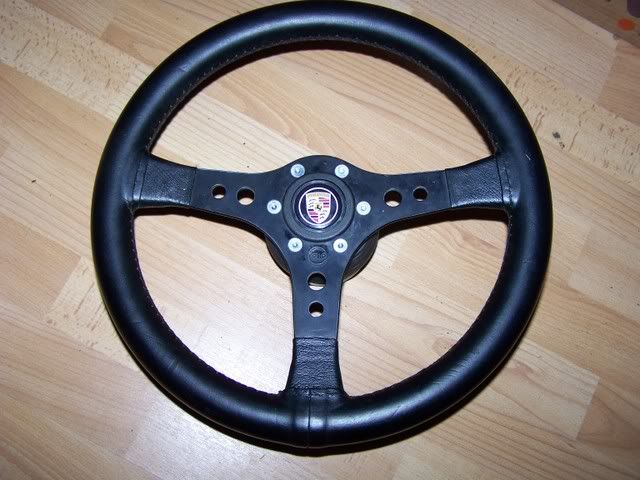  These photo's where taken behind Mel's Diner in Hannover april 30 2009. 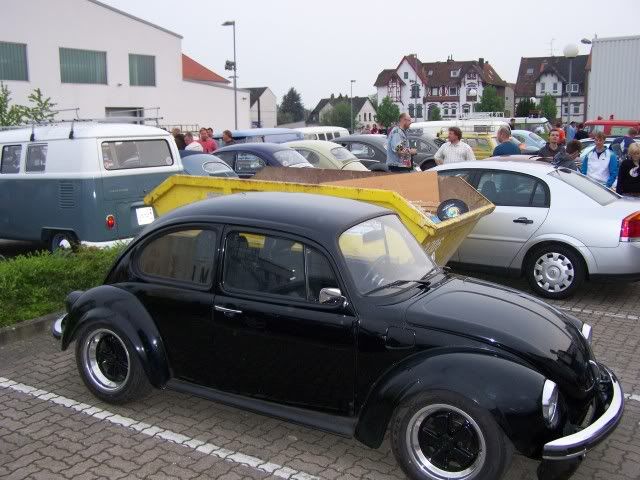  On a local aircooled meeting. 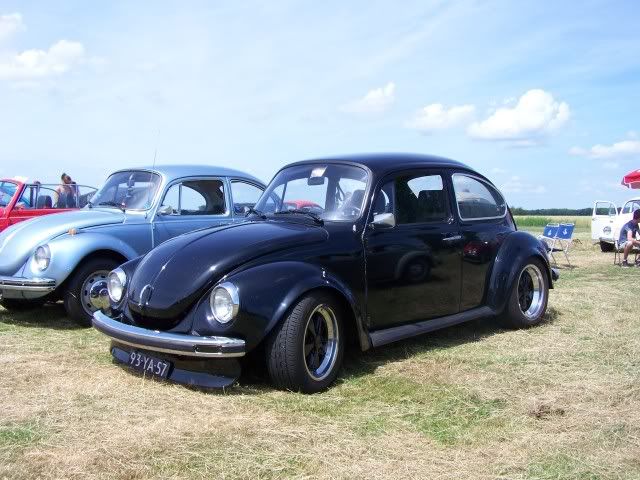 On the Spa-Francochamps circuit 2009 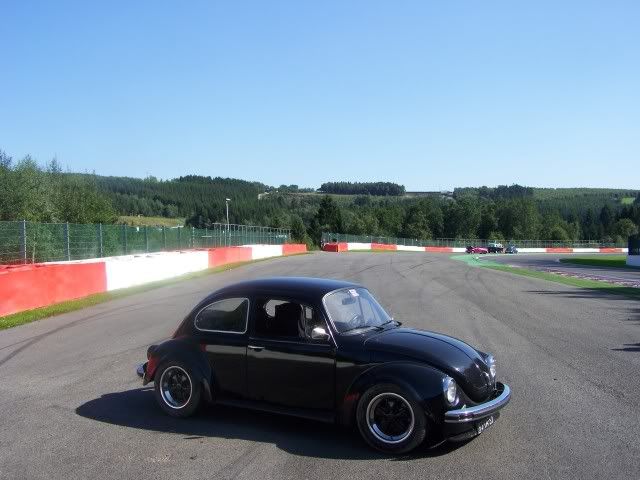 In company of another white dutch Germanlooker on the Spa track in Belgium in 2009. 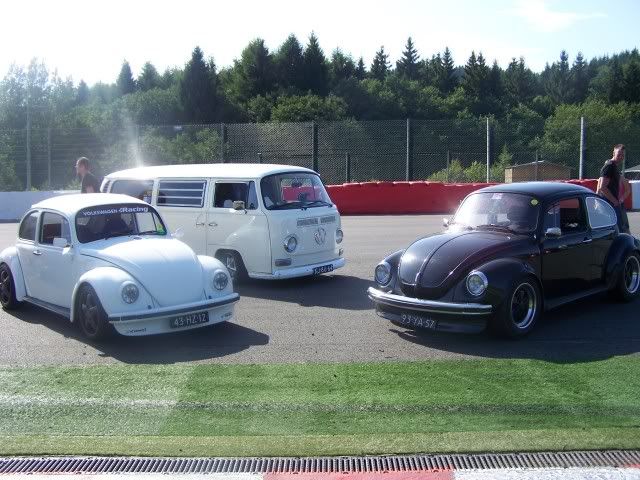
Last edited by Blizzard; April 21st 2010 at 04:57.
|
|
#7
April 20th 2010, 05:57
|
||||
|
||||
|
Some more pictures of different interior changes.
This is how it looked when I bought the car.  Porsche steeringwheel and a 944 tach. under the dash.  Raid steeringwheel and oilpressure and temp. gauges. OMP pedals, new carpet and I found an original frame to mount the radio.  New panel under the dash for 4 gauges. I added a voltmeter and a tach. 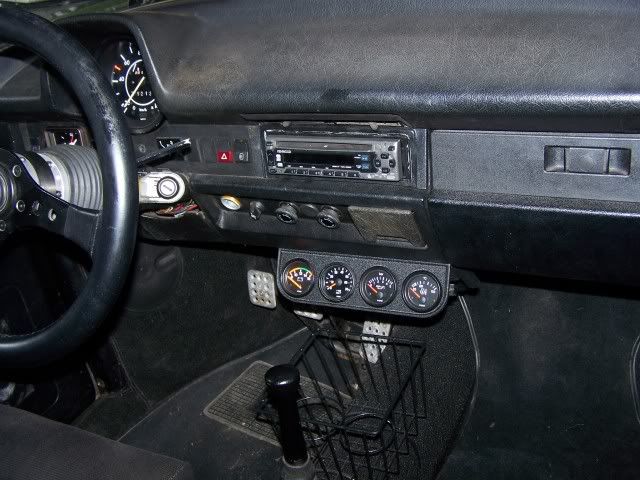
Last edited by Blizzard; April 20th 2010 at 07:58.
|
|
#8
April 20th 2010, 06:38
|
||||
|
||||
|
All these changes still don't make it a Germanlooker. So after all the cosmetic changes I was ready to start on some handeling and braking upgrades. The last thing I needed was the right wheels with the right ET to fit the wide 944 turbo trailingarms in the back.
When I found a nice set of Cup 2's I could finaly start to work on the chassis. I already have all the parts I need but some parts are not jet instaled. The plans that have a - are the things I still have to do. Whith a + are already instaled. On the front. + 22 mm anti rollbar + Urethane bushings - Kerscher struts - 944 NA spindels for use of the original speedo cable - 944 S2 hubs - 944 S2 Rotors - 4 pot calipers for the 28 mm x 299 mm disks with the right cup size to create the right ballance with the rear brake setup. Rear setup + late 944 turbo trailingarms + New Zimmermann disks, pads and handbrake stuff + 944 S2 rear calipers + Urethane bushings + 944 S2 torsion bars + Yellow Koni shock absorbers - rear adjustable anti rollbar Wheels will be Original Porsche Cup 2 17" x 7 ET 55 on the front and 17" x 9 ET 70 on the rear. Last edited by Blizzard; April 21st 2010 at 05:00.
|
|
#9
April 20th 2010, 06:54
|
||||
|
||||
|
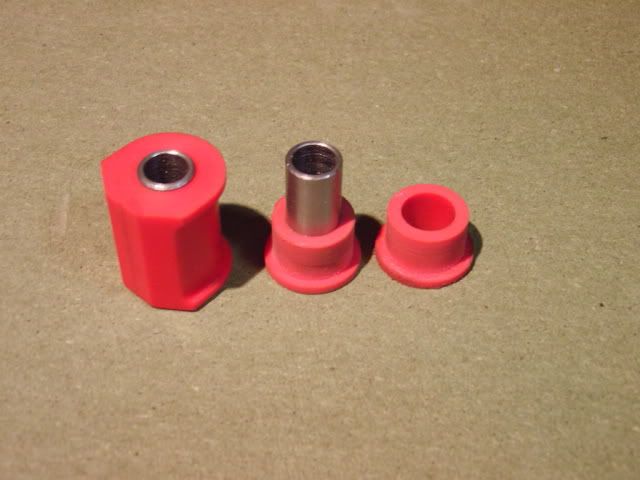
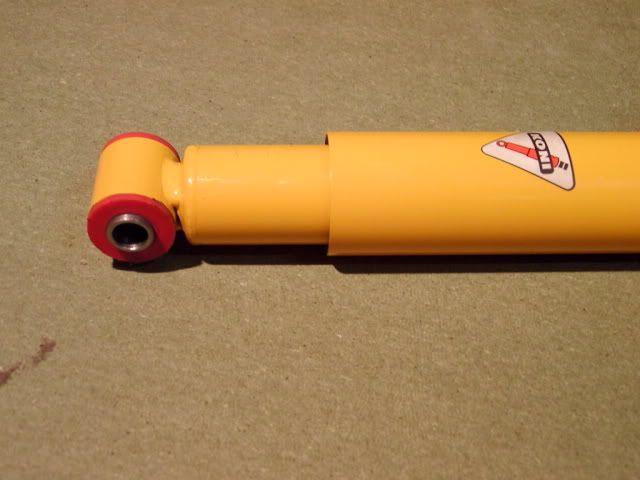
To fit the yellow Koni's (which were made for an IRS beetle) on the 944 turbo arms I made a bushing from an unused urethane bussing for a 19 mm. front anti rollbar. The 12 mm. hole is to small as you all know for the 14 mm. Bold for the 944 turbo arms. So I made a 2,5 mm thick steel insert outside 19 mm. inside 14 mm.
Last edited by Blizzard; April 20th 2010 at 08:04.
|
|
#10
April 20th 2010, 07:03
|
||||
|
||||
|
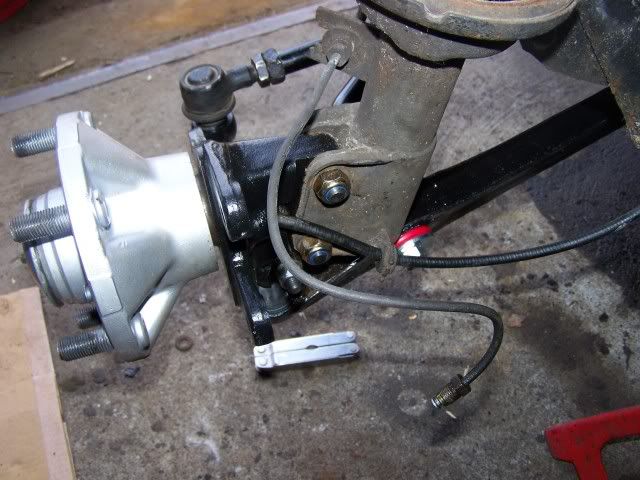
Rear arm complete with driveshaft and disk.
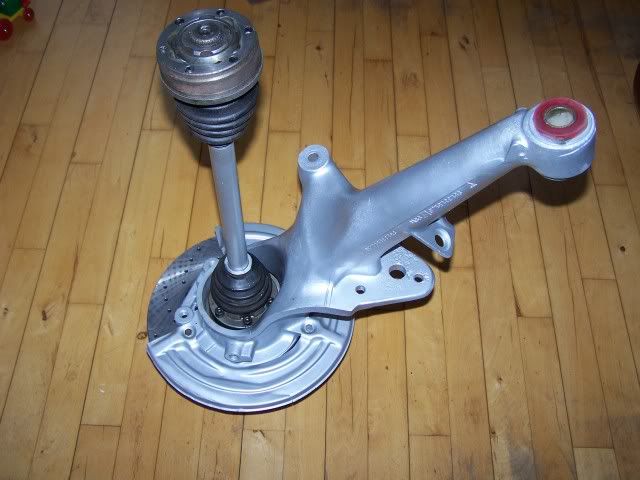 All the parts for the rear suspension before assembly. 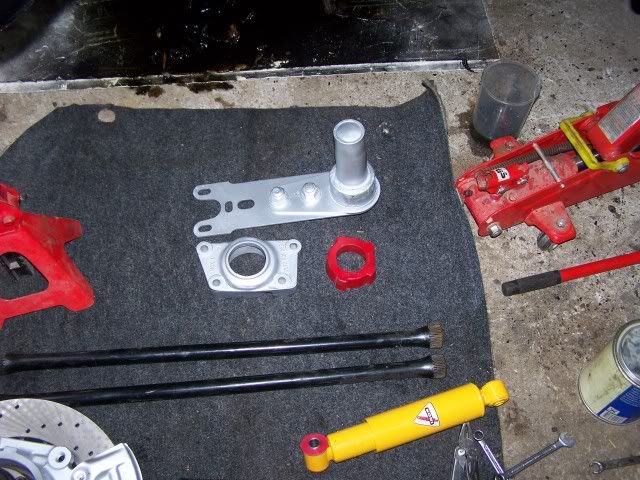 The rear suspension and brake parts on the car. 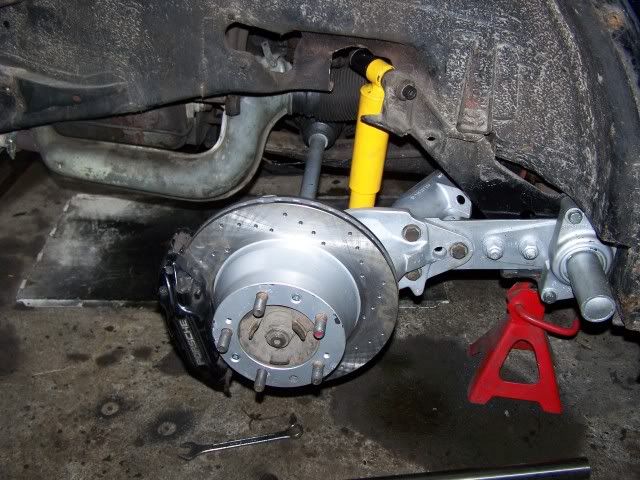 Front is still under construction. This is what I can show you so far. 944 NA spindels with custom bearing bushes for the S2 bearings and a custom bushing to mount the steering rod on the top of the steering arm on the spindel. 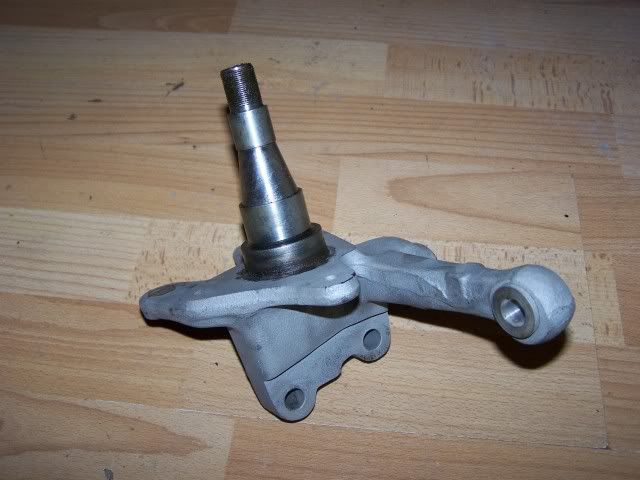 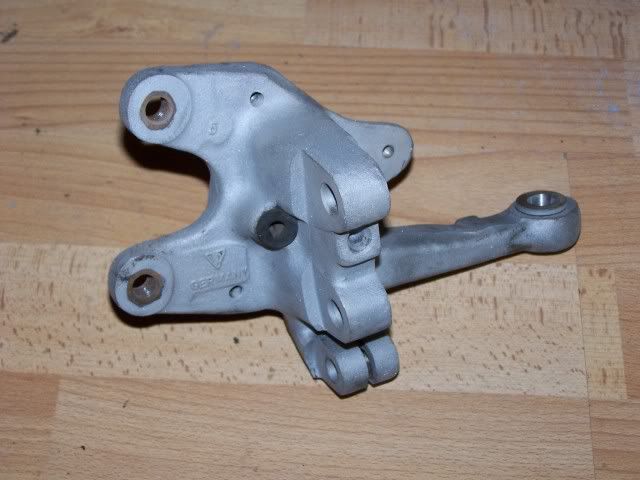 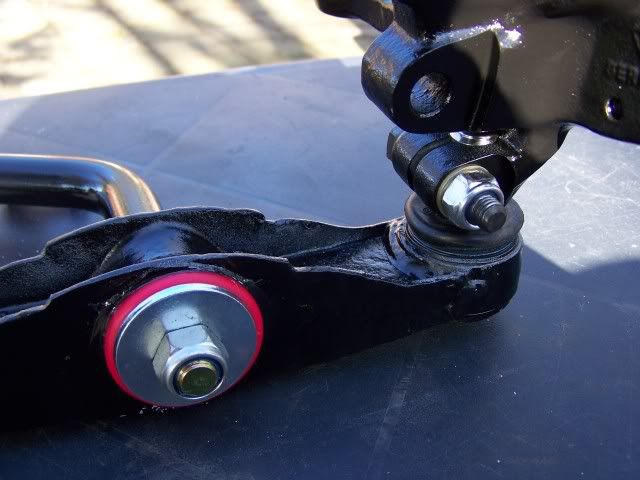 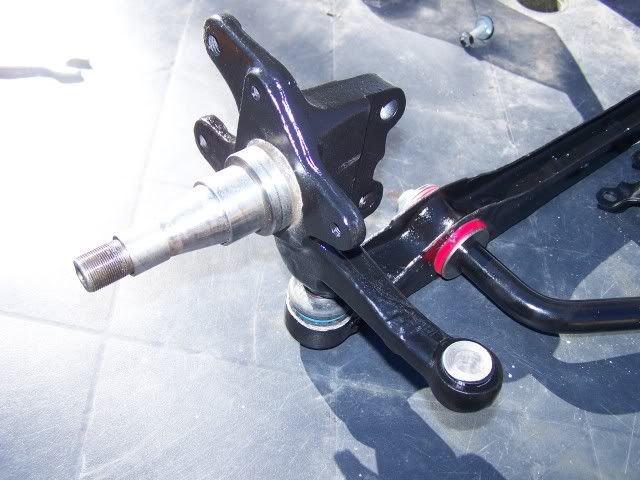  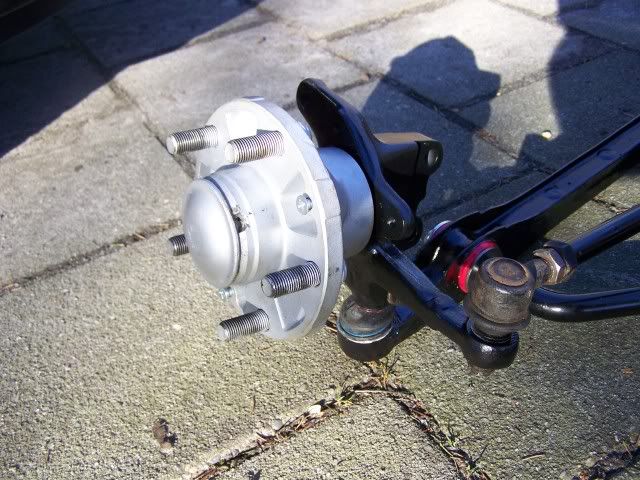 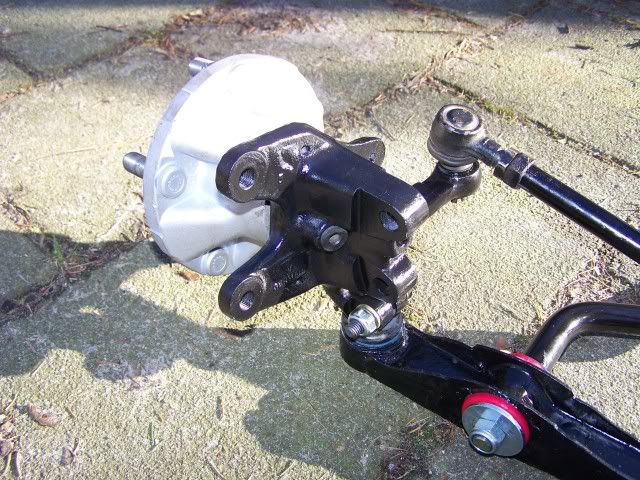 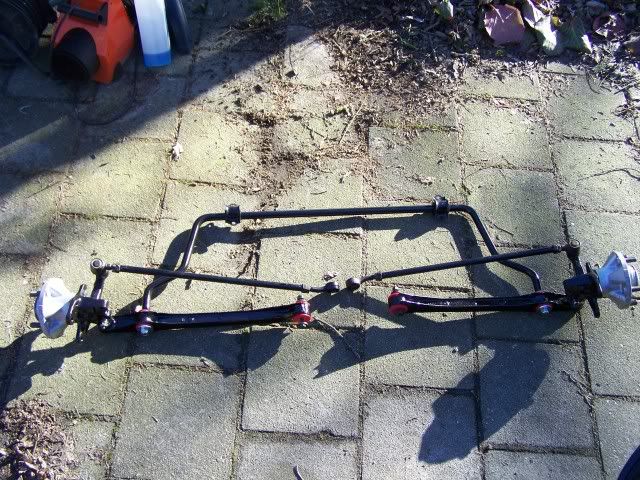 I shortened 2 long (LHD right side) steering rods from a regular beetle to use with the 944 NA spindels and a rack and pignon steeringbox which is standard in a '75 super. On the left is a standard length '75 > steeringrod. In the middle is a shortened rod and on the right the complete custom length rod. 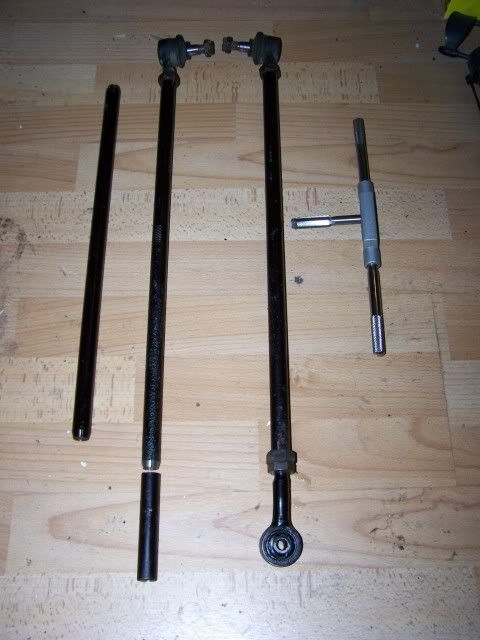 I also made a pair of cradle's to support the new control arm joint while it's pressed in the front controlarm. 
Last edited by Blizzard; April 21st 2010 at 05:03.
|
|
#11
April 20th 2010, 07:10
|
||||
|
||||
|
On the car.
 With the new 299 mm. disk and the 17 x 7 Cup 2.  Complete side view of the car.  The rear fenders are only 4 cm wider as standard so they don't fit over this rear setup. So I bought a pair of 7 cm. wider rear fenders from Kerscher. Last edited by Blizzard; April 21st 2010 at 15:47.
|
|
#12
April 20th 2010, 07:18
|
||||
|
||||
|
My friends and I build a spraybooth in our hobby workplace so now i can paint my own projects.
    I also painted the Kamei spoiler again becouse it had some paint dammage. Because the fenders are 7 cm wider I also needed a wider rear bumper. It is a glassfiber Kerscher one that fits around those wide rear wings. So the front had to be painted also. I bought a new bare steel front bumper without chrome finish and painted it. The old chrome bumpers are for my '79 vert project. Last edited by Blizzard; April 21st 2010 at 05:05.
|
|
#13
April 20th 2010, 07:24
|
||||
|
||||
|
The feshly painted fenders and rear bumper on the car. That's a 255/40 x17 tire you're looking at.
 The car stood still all winter so the rest of the car is very dirty.  New front bumper on the car.  Complete side view of the new look.  The Black 4 pot Brembo's look great behind those Cup 2's 
Last edited by Blizzard; April 21st 2010 at 05:07.
|
|
#14
April 20th 2010, 07:31
|
||||
|
||||
|
After some cleaning and detailing it was time for the first meeting this spring. This was last weekend so now I'm up to date with this rolling rebuild.
 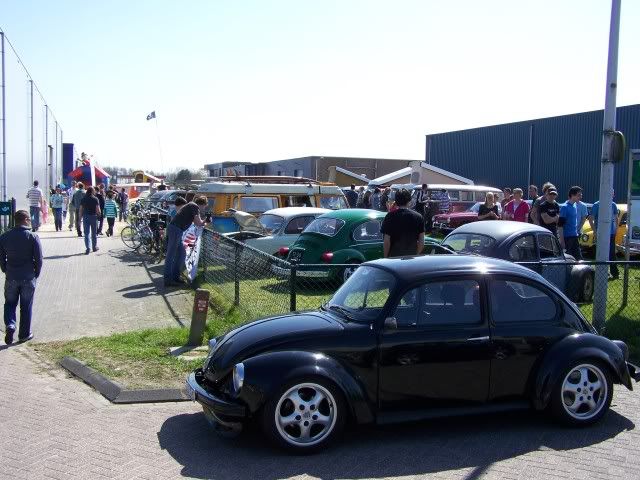 After a few moths of painting and working on the chassis it was nice to make a trip in nice sunny spring weather with some friends to a meet. The car handles great and I had a smile on my face the whole time during this first (test)drive. Last edited by Blizzard; April 20th 2010 at 08:14.
|
|
#15
April 20th 2010, 20:33
|
||||
|
||||
|
Wow that's alot of ground to cover in such a short thread
It looks good so far. What kind of plans do you have for the motor?
__________________
1970 T1 W/MassIVe 2913cc RAT/?EFI? w/direct fire (very soon) and 915 trans 1962 SC 1776cc SP 944NA brakes, 993 wheels VKG
|
 |
| Currently Active Users Viewing This Thread: 1 (0 members and 1 guests) | |
|
|


 Linear Mode

